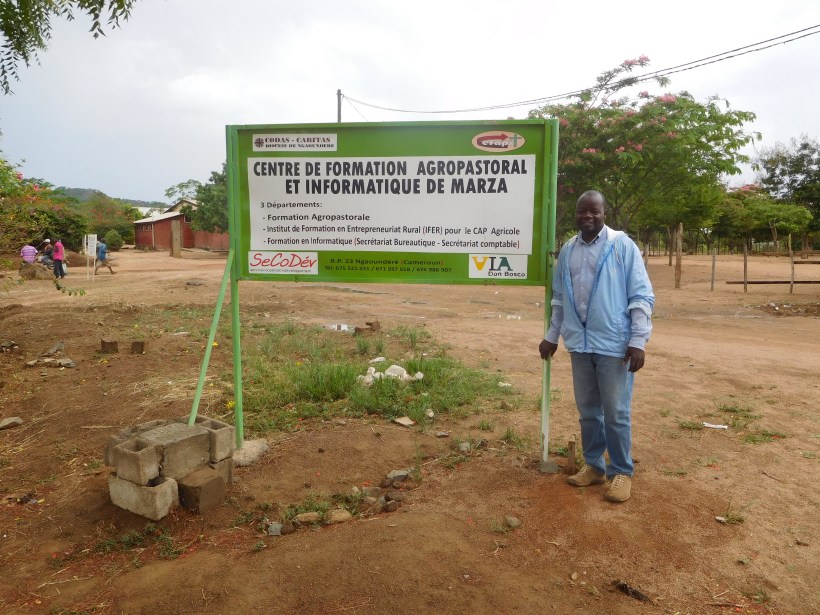
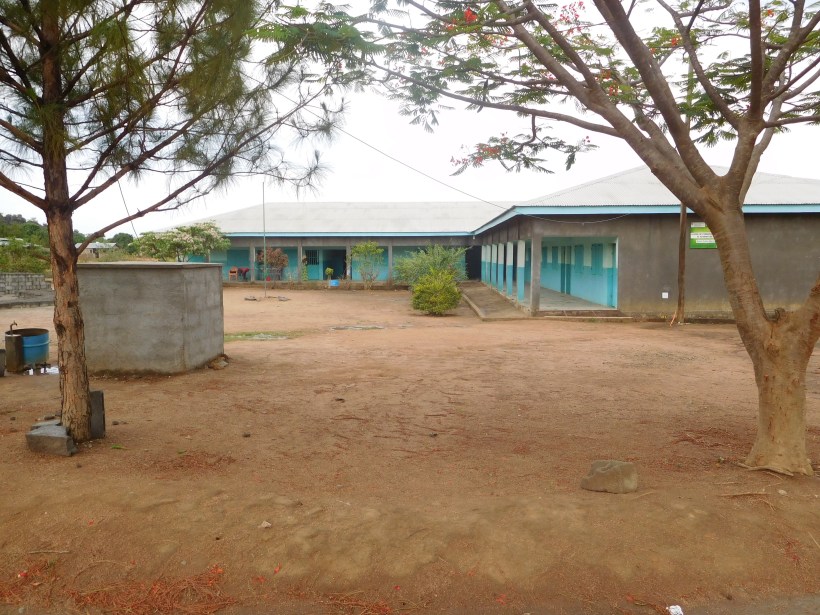
The long awaited beekeeping training took place this past weekend, April 5th-7th, in Ngaoundéré. Casey and I arrived in the city the day before the training in order to meet with out replacement trainer (our initial one had fallen through last minute…) and to secure the lecture room and a mama to provide lunch for the trainees. This all went well, which was a huge relief after all of the bad news we’d received the week beforehand, and we set out to make copies of the beekeeping manual for each of our group members. We truly lucked out with the organization (Centre de Formation Agropastoral et Informatique de Marza) and our trainers, Richard and Oumarou. The center not only had active beekeeping, it also had intensive chicken and rabbit raising, as well as a newly installed irrigation system for their tree nursery. They were already practicing grafting in the nursery, and Casey and I were very impressed with their various pursuits. The trainers were very knowledgeable and each day of their program covered a vital part of apiculture. I’ll provide a brief overview of what we discussed each day (with photos!) so you can get an idea of what a (very good) hands-on agricultural training in Cameroon looks like.
Day 1:
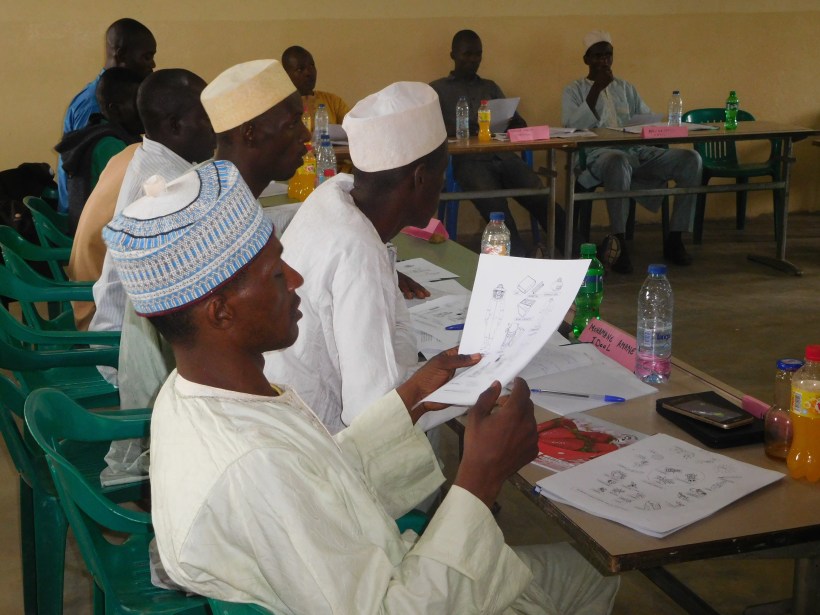
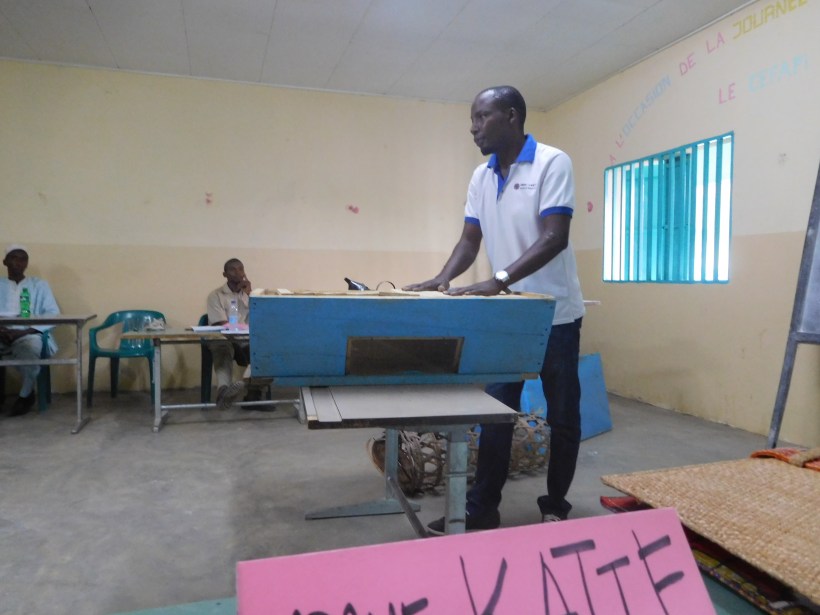
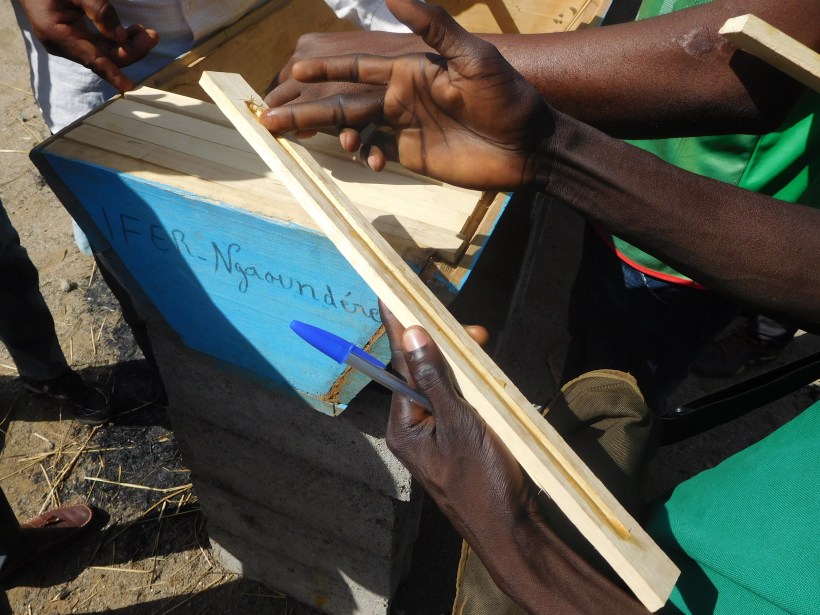
The day already started successfully, as all of our expected trainees arrived and we managed to start around 9:30 am. The first day was all lecture, but went over very crucial aspects of beekeeping (roles of bees in the environment, parts of the hive, reasons for practicing apiculture, the evolution of beekeeping from traditional methods, and the materials of beekeeping). These subjects opened up the conversation to not only the technical aspects of beekeeping, but the environmental impact of sustainable beekeeping. It was a very pleasant surprise to Casey and to me that we covered these subjects so thoroughly. One of the biggest concerns that we have as agriculture volunteers is the overuse of pesticides and insecticides. The trainers explained that the overuse of these chemicals can harm all insects, even the beneficial ones such as bees, and that it is in the best interest of the beekeepers and environment in general to keep their use to a minimum. A big win! After lunch we reviewed the plants that promote healthy bees, and the trainers showed us the Kenyan Top Bar hive, the type of hive we are promoting and providing for our groups.
Day 2:
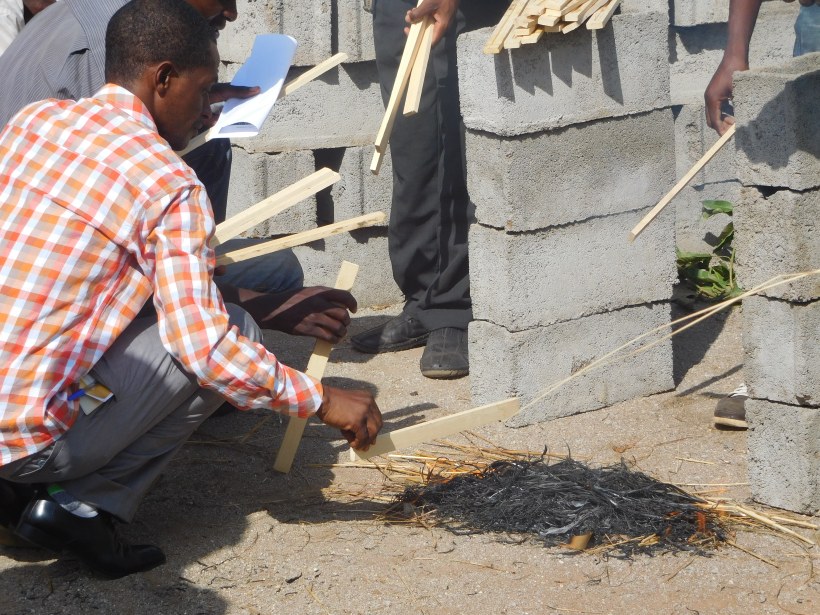
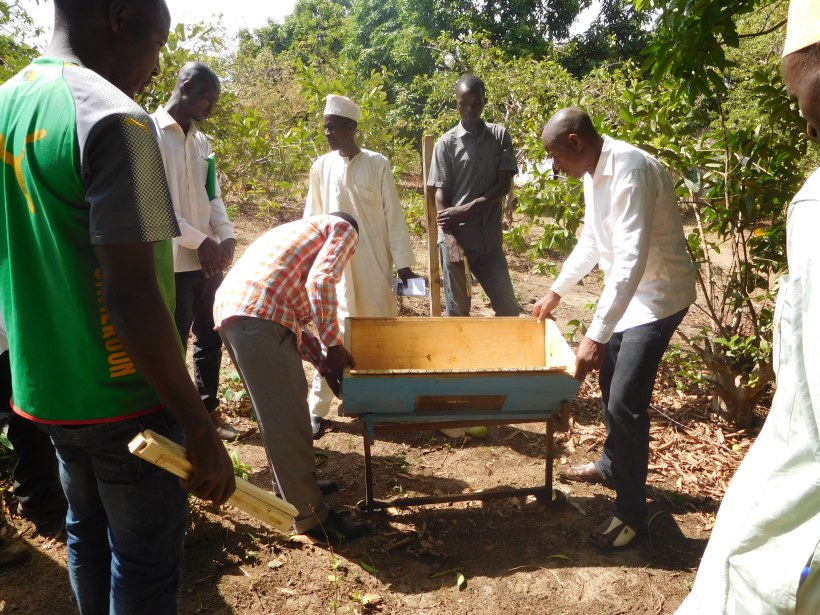
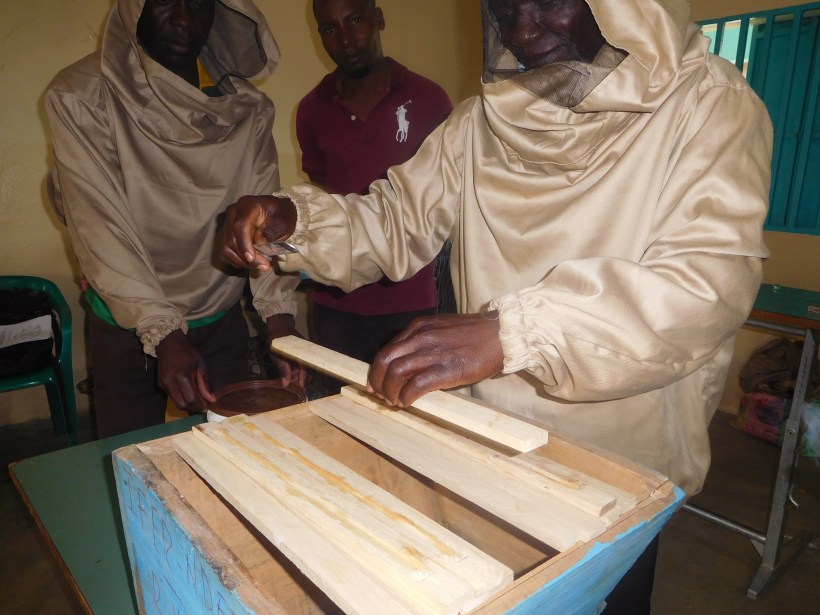
The second day we began our practical section, which started with hive installation. To be a beekeeper, you must have bees, and to do that you have to bait the hive. But first, you sterilize all parts of the hive!
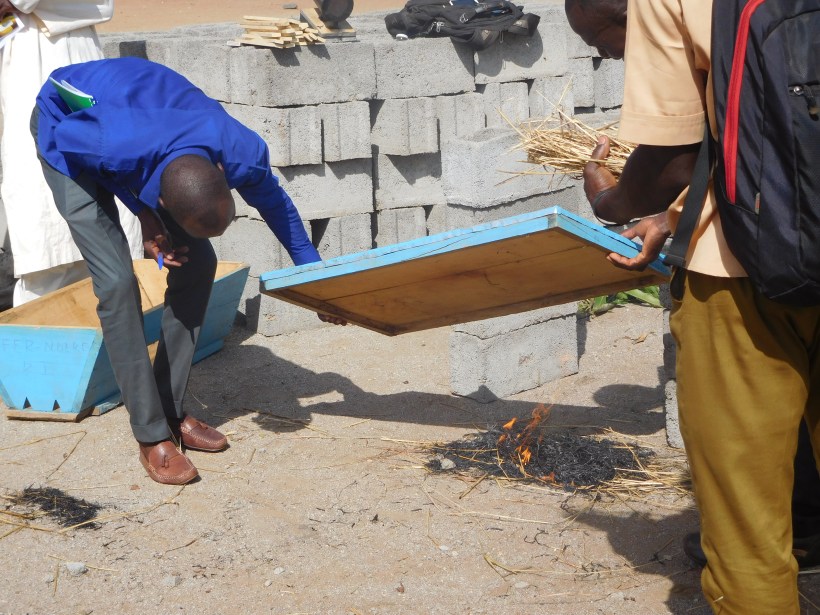

After we baited the hive, we went out to set it up, and stopped by a few hives that were already colonized and discussed the best stands and locations for hives.
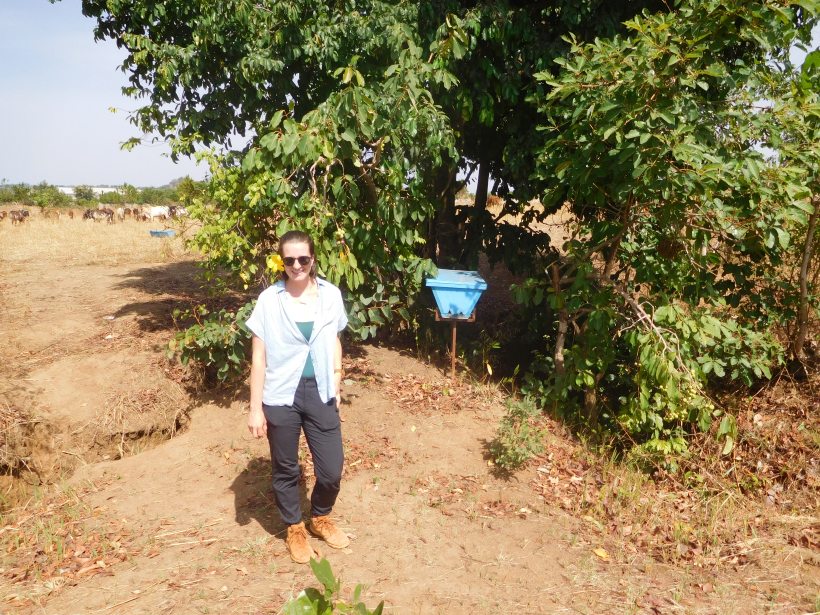
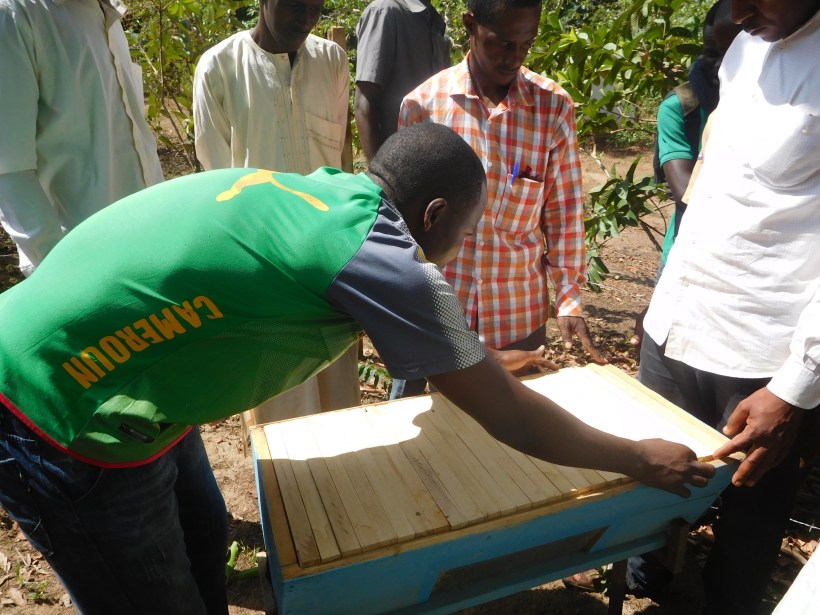

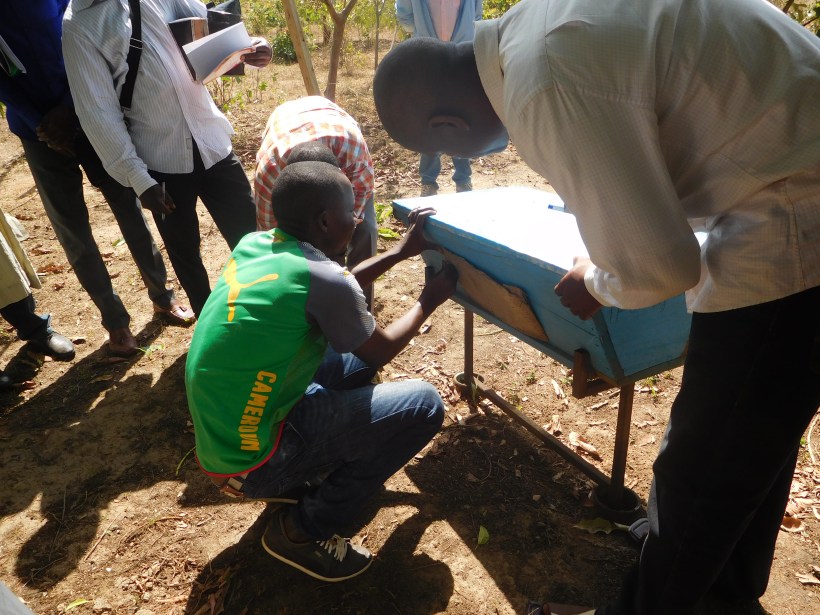

The day ended with a classroom session on how to select the best hive location and how to set the hive up.
Day 3:
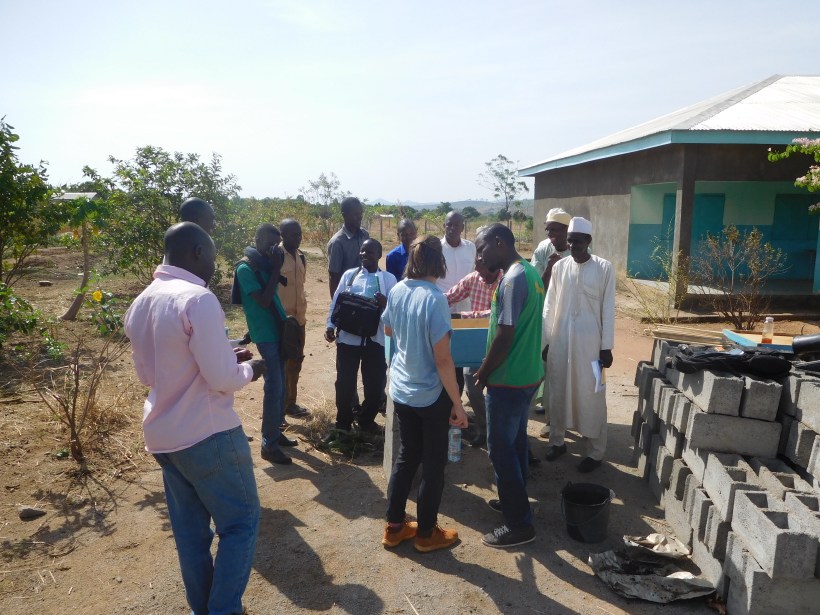
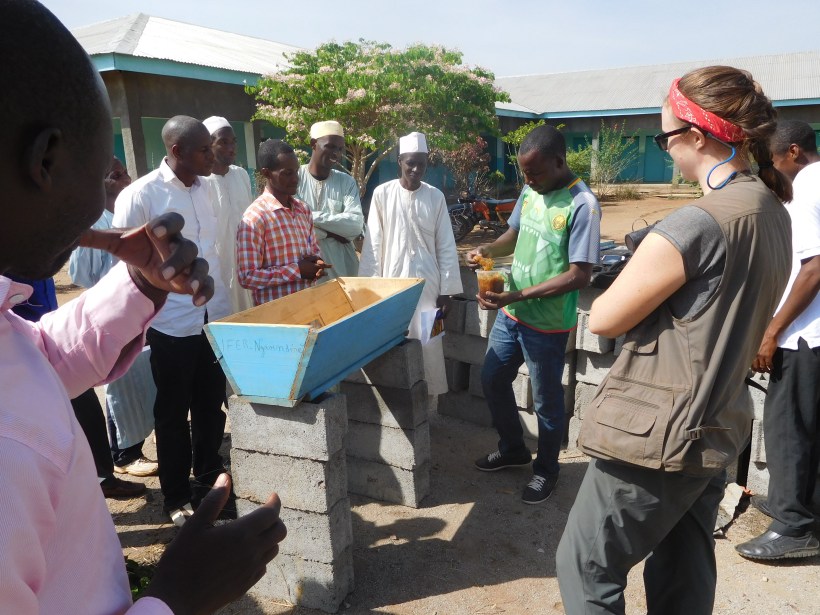
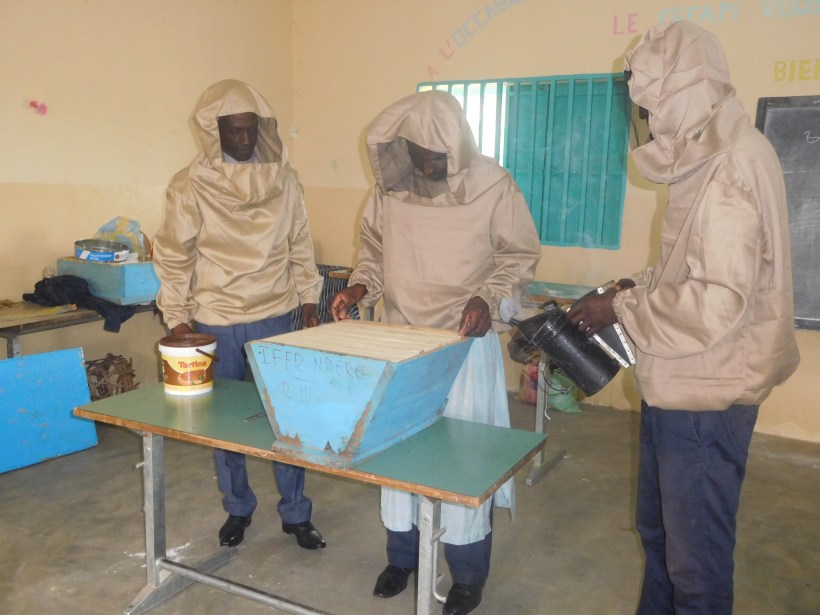
The last day of the training may have been my favorite day of the whole training. We started with a classroom session on harvesting honey, with all trainees participating in a mock honey harvest. An actual harvest was not possible at this time, as none of the hives were ready for harvesting, but the mock session allowed the instructors to give advice and fix errors. Casey and I are also considering arranging for one of the trainers to be present at harvest time to guide the groups through their first harvest. This option is yet another benefit of gaining new resources and contacts.

Richard asked the group what materials are best for filling a smoker to smoke out the bees. Without hesitation a trainee suggested plastic because it would burn easily. This was a great learning opportunity. A big issue here in Cameroon is the use of plastics to start fires. Not only is this harmful and toxic to humans as the fire releases chemicals in the plastic, it is also very harmful to the bees. Richard explained this and made sure everyone understood to never burn plastic in the smokers. We were thrilled!
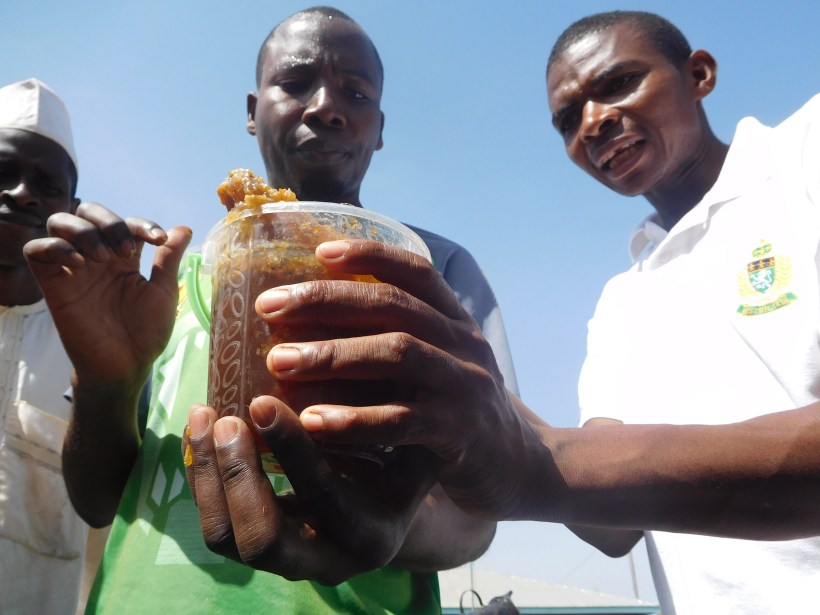
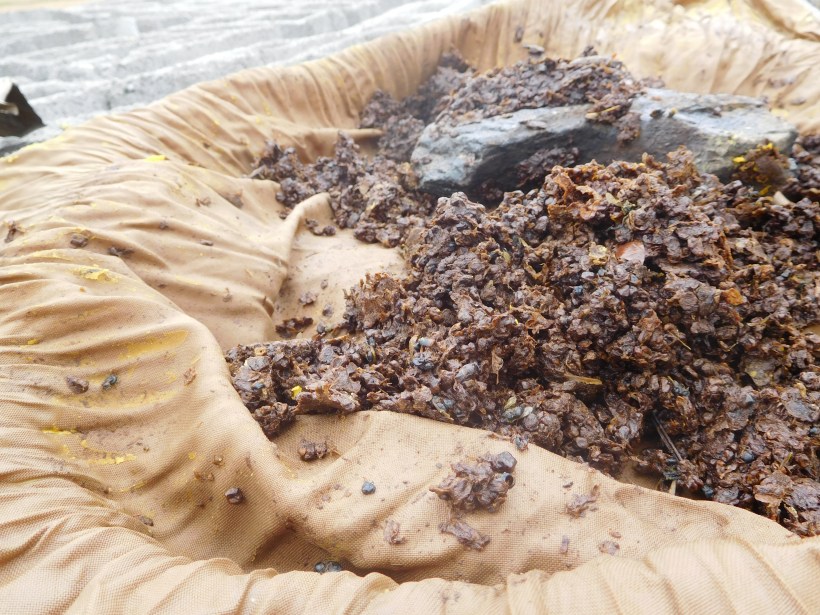
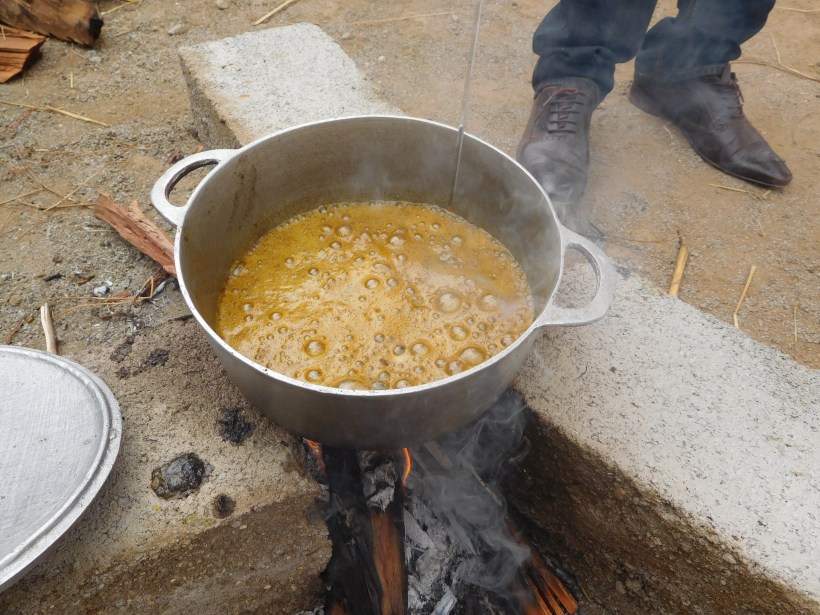
The next session was on transforming the harvested materials. First we began by rinsing previously harvested honey comb with water, creating a honey water that can be fermented into a honey beer, or, after a longer period of time, a stronger whiskey-like beverage.
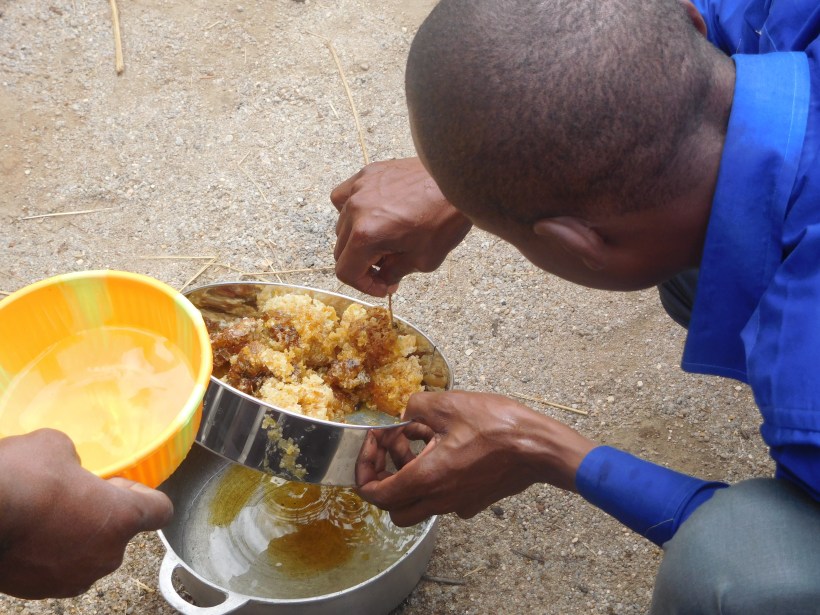
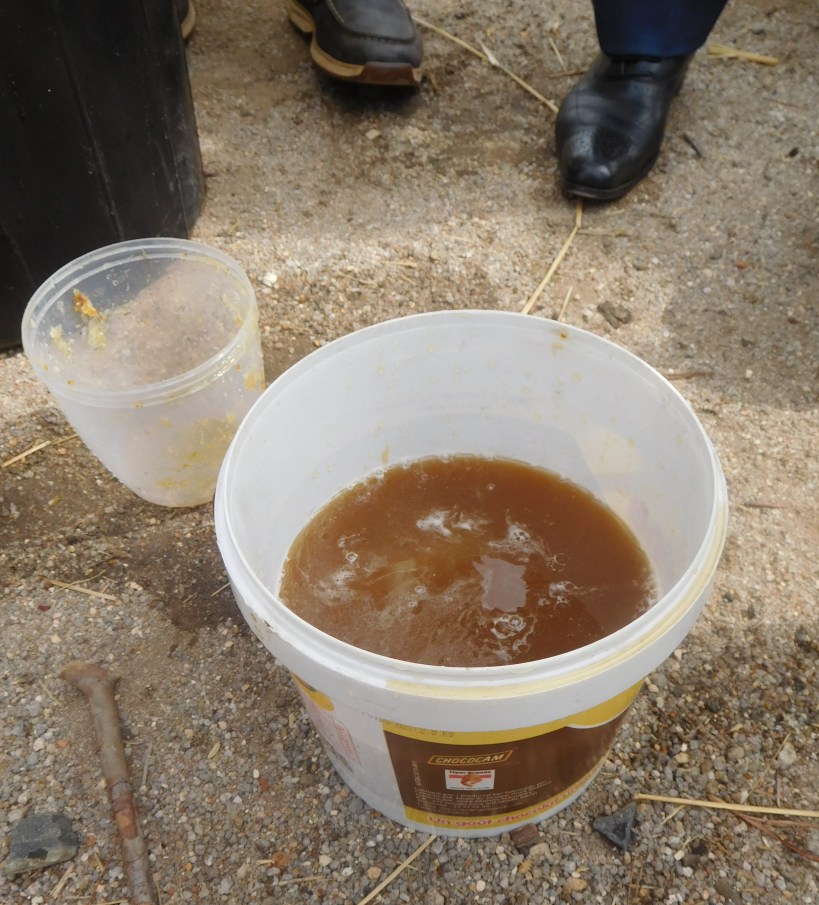
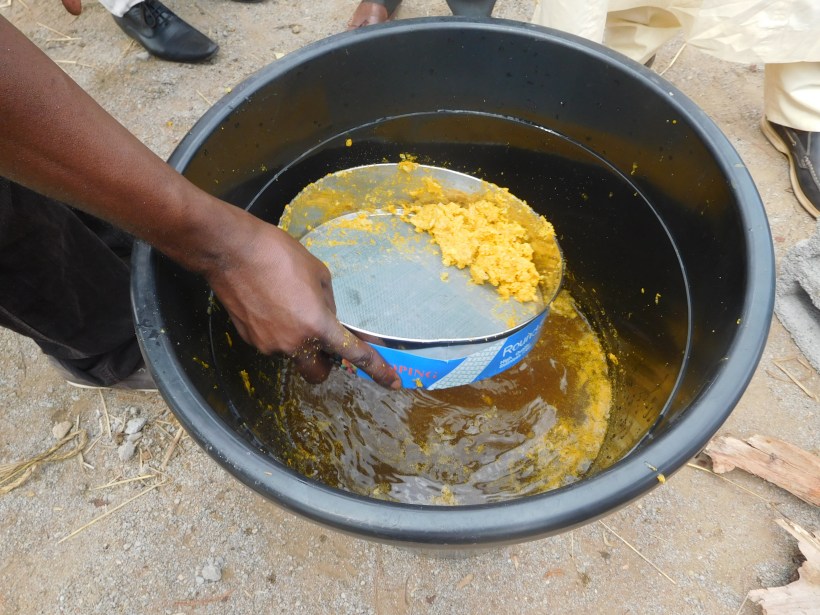
After the rinsing, we collected the comb into a bag, tied the ends, and put it into boiling water. This is called rendering, and extracts good quality beeswax for use in candles and soap, while leaving the bad stuff (like dead bees) in the bag. I’ve done a miniature version of this before in my home. Traditional beekeeping does not include this step, which takes more time but results in a much higher quality of wax.
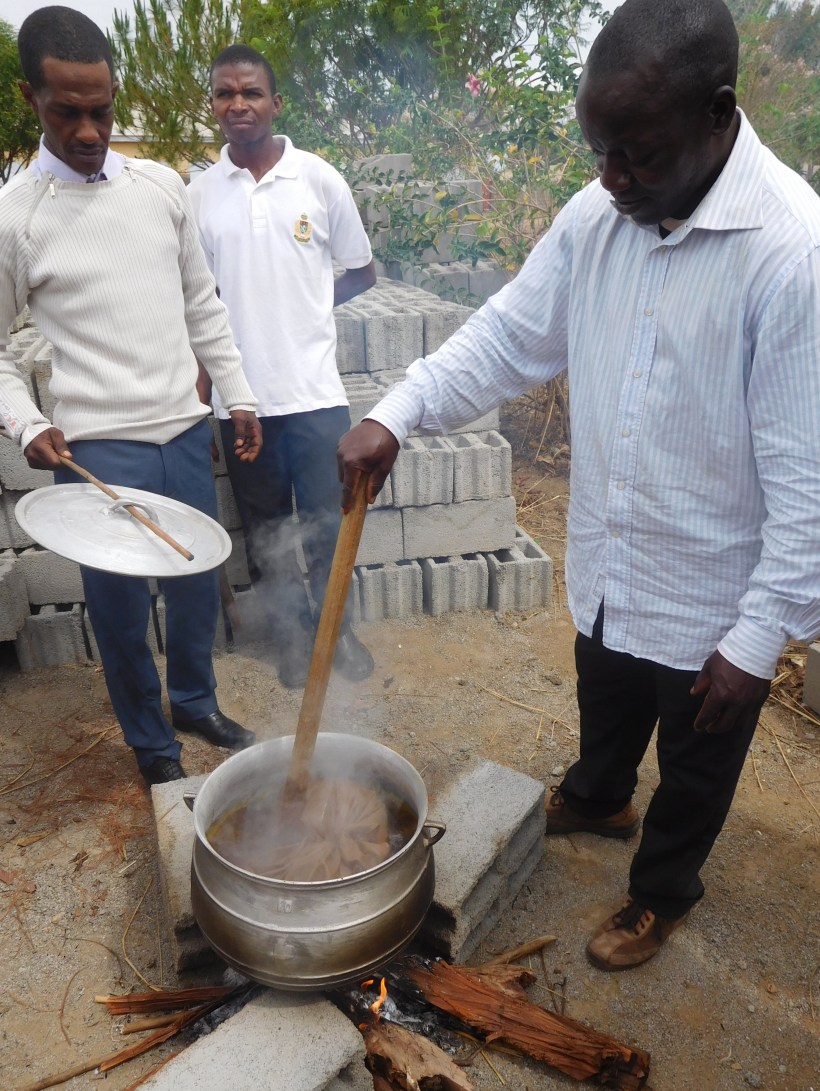
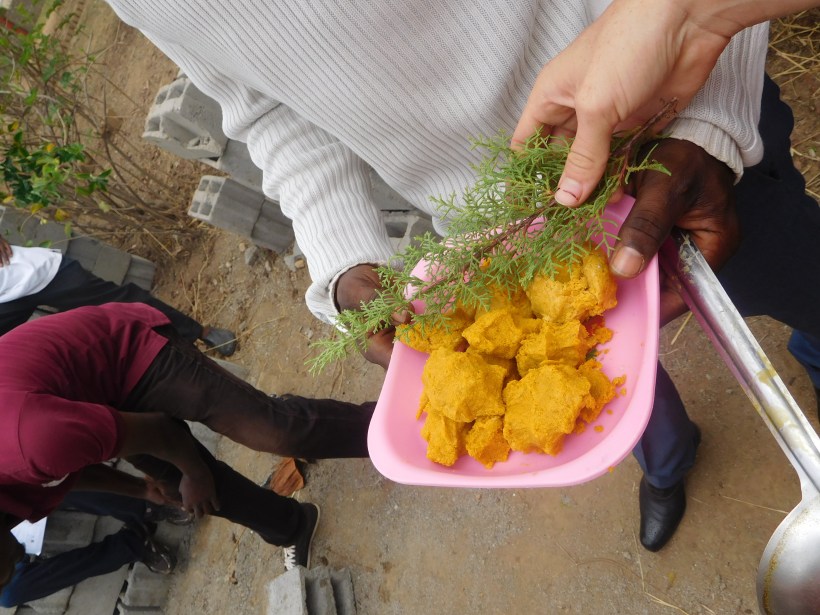

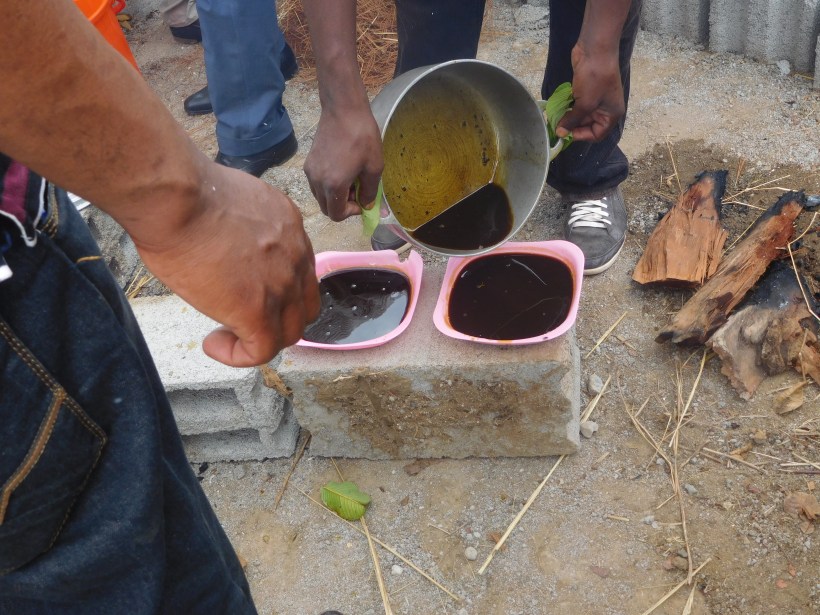
This is another income generating activity that comes from beekeeping, in addition to honey! Beeswax is very useful, and good quality wax can fetch a much better price than traditionally harvested wax at market.
The transformation session ended the training, and after a question and answer session it was time to give out the certificates that Casey and I had printed! The Chef de Poste was kind enough to do this.
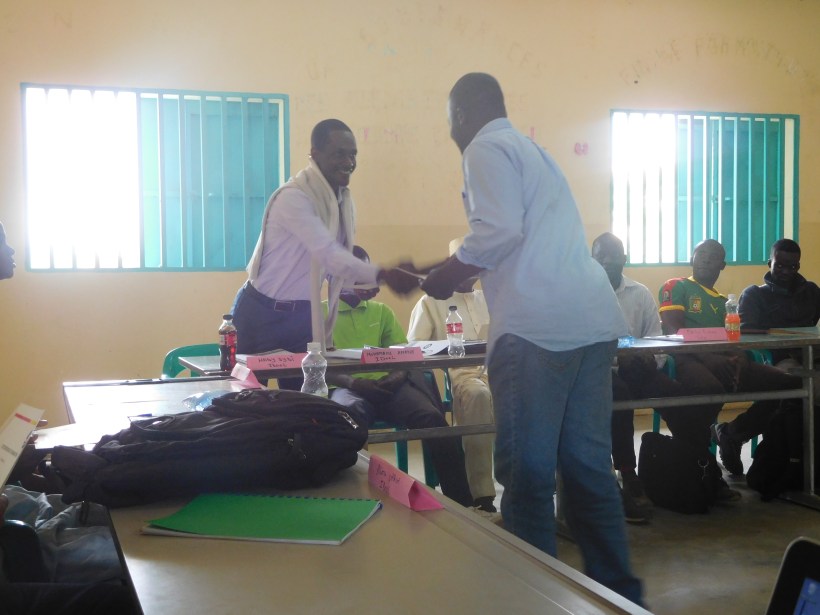
This was followed by a great deal of photo taking in Cameroonian fashion, and ended the 3 day training! Casey and I bought a big bottle of honey and headed home that night.
A huge thank you to all the people who donated money to this project. It has been a long time in the making and Casey and I are very appreciative of all the help we received during this process. Our next step is coming up soon, as the hives are arriving and need to be baited and set up! This (big) portion of the project could not have gone smoother (after some initial speed bumps), and we left the training with amazing contacts that can help future volunteers. We couldn’t have hoped for more! Thank you all again, I’ll be posting soon with the results of the installations!

I just saw you should wait until the temp remains steady At 50 degrees before cleaning out beds because a lot of bees winter over under debris in the beds. ❤️ grandma
Sent from my iPad
>
LikeLiked by 2 people